


Orders & Delivery: My first Pixum order - steb-by-step
If you want to get your digital photos printed in an easy and quick way, you are perfectly right to choose Pixum!
 |
|
 |
|
 |
Log in and register
Log in to your Pixum account or create one within just a few minutes!
- Enter your email address or username as well as your password and use the button „Login“ (at the upper right corner of the Pixum website www.pixum.co.uk) to log in to your Pixum account.
If you forgot your password, have a look at this article . - If you do not have a Pixum account yet, you can easily, quickly and freely create one by using the button „Register“ (at the upper right corner of the Pixum website) and giving your name and email address.
- Enjoy the following advantages of a Pixum account:
- Initiate your order and continue any time. You can thus take your time, try various options and change a photo, size or colour.
- The photos that you upload to Pixum will be stored in your account (21 days in your inbox after uploading and permanently in an album) which is especially practical if you want to re-order your photos or create various products because you do not have to upload them several times and can access them any time and anywhere.
Order your photos step-by-step.
Upload photos
- Go to the category „Photo Prints“ and simply click on the blue button (at the upper right) „Upload photos“ to start selecting photos from your computer via the button „Search“ and to upload them to your Pixum account.
- Your photos are automatically placed in your inbox where you can initiate your order or arrange them according to name, date or place.
Select photos for your order
Select one or several photos from your inbox (or an album) and press the orange button „Order photo prints“. If you want to upload additional photos, you can do so any time by using the button „Upload photos“.
Select size and number of prints
- Choose a size and the number of prints you want to order, decide whether you want to get photos "with or without border" and click on „Into the shopping basket“.
- You can do so for one photo at a time or even apply those settings for several/all photos at once (select the respective photos and make the settings at the right next to the overview).
- You can directly check what changes of size and number as well as with/without border mean for the price.
What does the star in my photo mean? The star tells you which quality your photo prints will have at a certain size (yellow = high quality; grey-yellow = good; grey = bad).
Place your order
Step 1: Shopping basket
- Place your photos into your shopping basket by pressing the orange button „Into the shopping basket“ where you can...
- check your order and still change certain settings (size and number of prints as well as the back side printing and more).
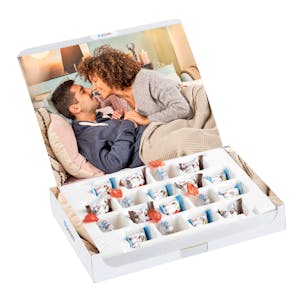
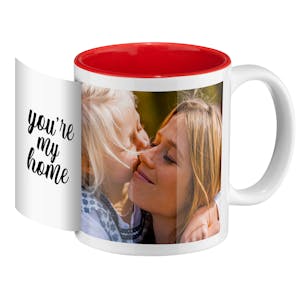
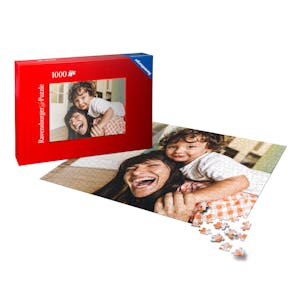
- create and add other photo products (like mugs, calendars or greeting cards) by pressing the button „Continue shopping“.
- redeem your voucher by entering the respective code in the field „Enter voucher here“ and clicking on „Save“.
- activate or deactivate the Digital Photo Optimisation for your photo prints. As a standard it is activated and a good option for photos that you did not edit. But if you used an image editing programme (e.g. to change the colour or add an effect), you better deactivate the automatic Digital Photo Optimisation (by removing the tic).
- Click on „Continue“.
Step 2: Address and payment
- Enter your billing address.
You can either get your order sent to this address or to another address („Alternative delivery address“). - Enter your payment data.
Step 3: Place your order
- Finally check your order, accept our General Terms & Conditions and place your order!
How helpful was the search result to your query?

To review this article please login with your Pixum user information in the top right corner.